Fun and Easy Easter Crafts for Babies and Toddlers
I love crafting with my kids, and I’ve encouraged exploration and creativity through art from a super young age. Today, I’m sharing with you a roundup of some fun and easy Easter-themed crafts for babies and toddlers. They make great Easter decorations, but they’re also great for your babies’ development, so start crafting!
I’ve chosen these particular projects because they are easy and achievable. First, there’s no funky, hard-to-get supplies, and I promise only small, contained messes (so there’s a good chance you’ll actually do these crafts). Also, the projects are simple, fun, and totally doable for your little ones. In fact, these crafts are suitable for even the youngest artists! However, as with all art, even though they’re perfect for one, two, and three-year-olds, they can easily be adapted for older kids. You may even channel your inner Van Gogh and end up making a few yourself!
Below you’ll find some fun Easter inspiration, including chicks, sheep, and of course decorated Easter eggs. Get in the holiday spirit and have fun!
Like the ideas in this post? Make sure to bookmark this page or pin some images, so that you’ve got them all on hand when you need them. Just a little note on images: the craft photos are not mine, but rather belong to the talented, hard-working bloggers named with each craft. If you’d like to pin these images on Pinterest, please click through to each blog and pin directly from the author’s page.
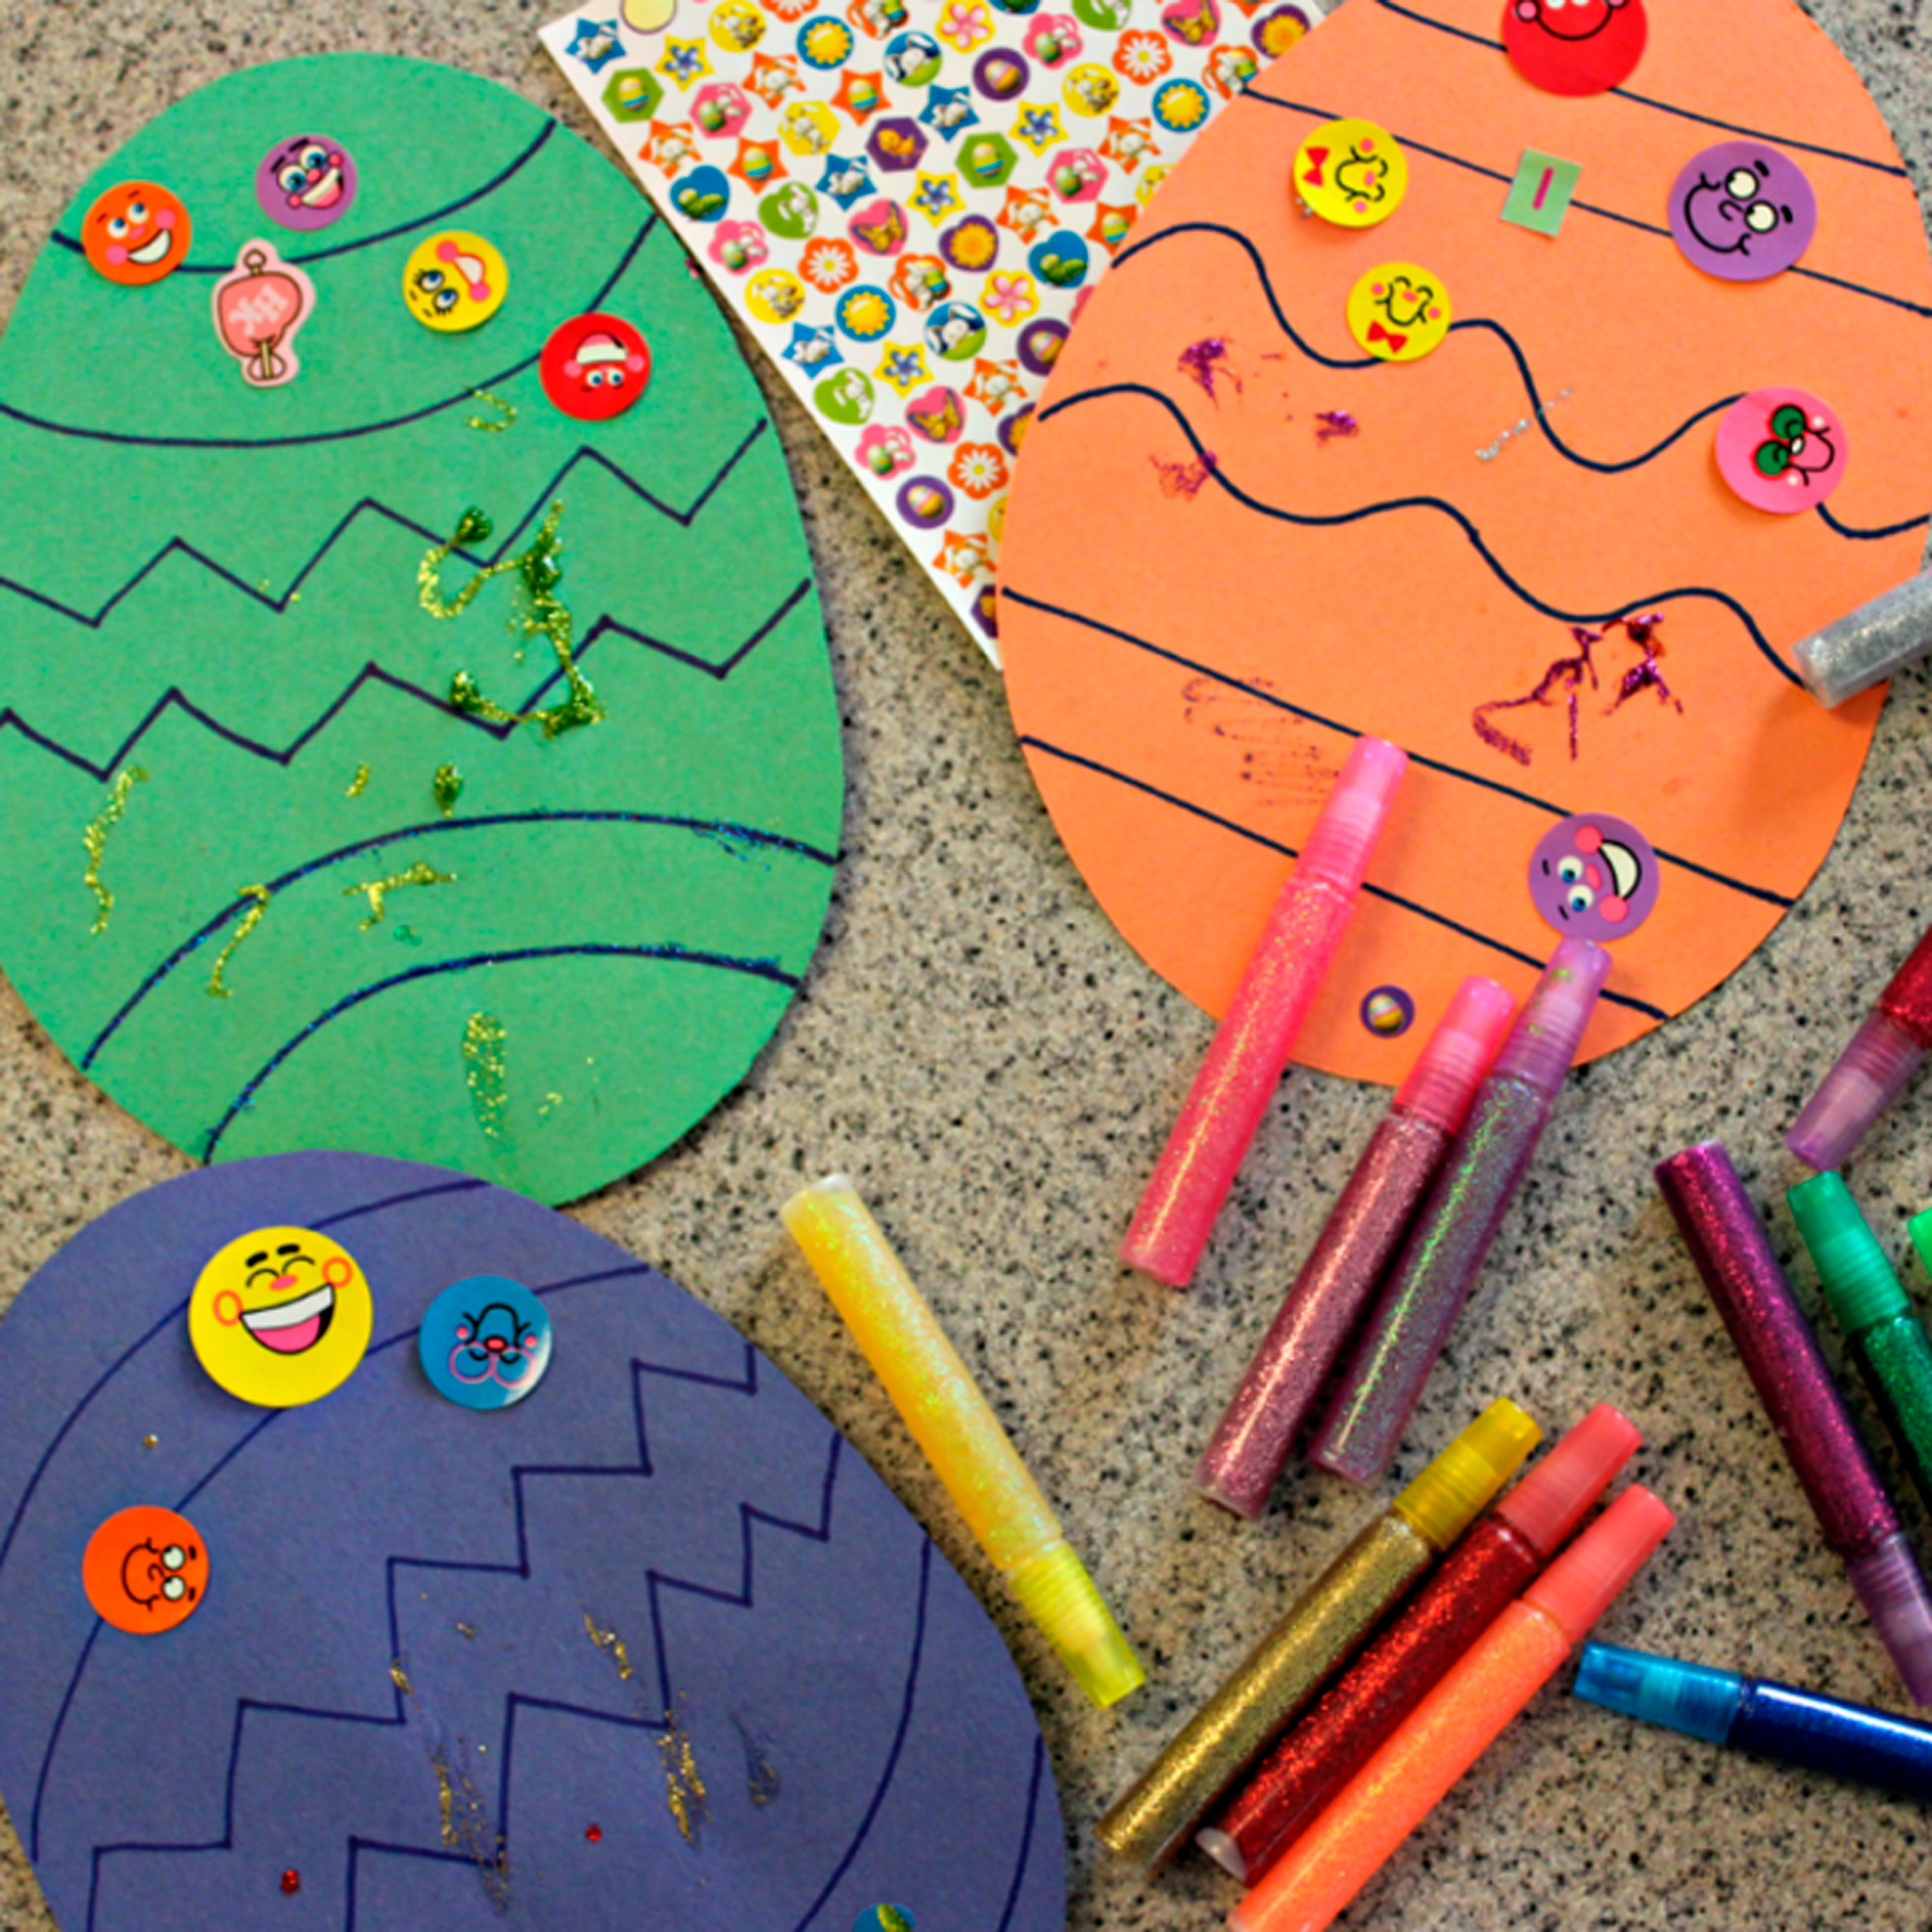
Sticker Eggs from Live Well Play Together
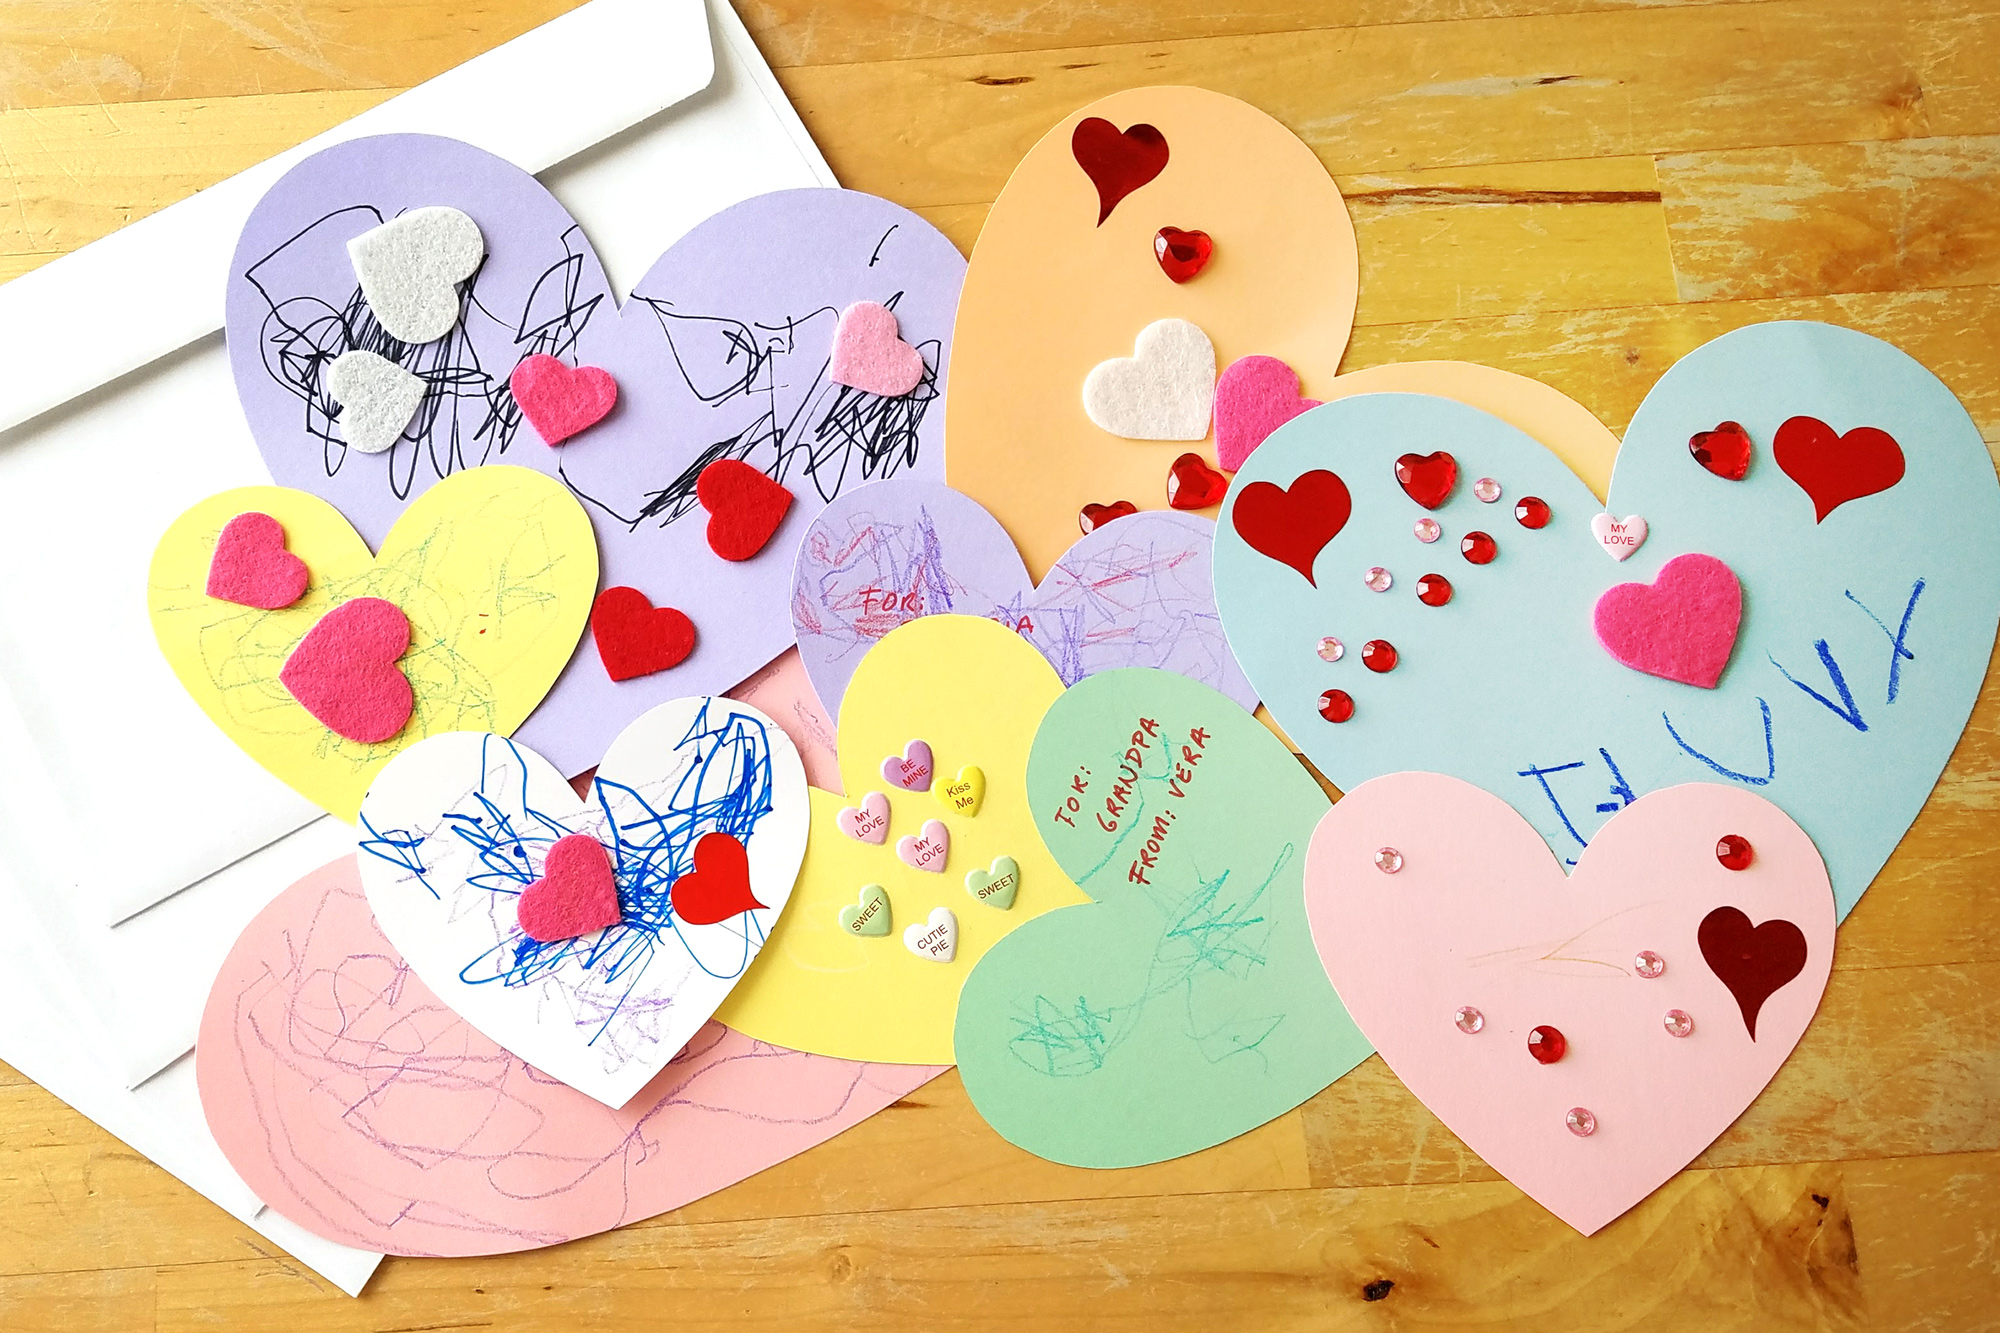
It seriously does not get any easier than this Sticker Eggs craft from Live Well Play Together. All you need is a few sheets of construction paper cut in the shape of eggs. You can add some simple decorative outlines to the eggs, or just leave the paper blank and let your little one create. Pull out some stickers or other art supplies, and you’re looking at HOURS of fun. I guarantee your toddler will love the freedom of decorating at her own pace.
Pro tip: little ones have a really hard time pulling stickers up from the sheets. If you want some time for your own activities while your little one works on crafts, try this trick to make things easier for her. Take the sticker sheet, and pull up all the border paper, leaving only the stickers behind. Their little hands now have direct access to just the stickers, so they can do it themselves.
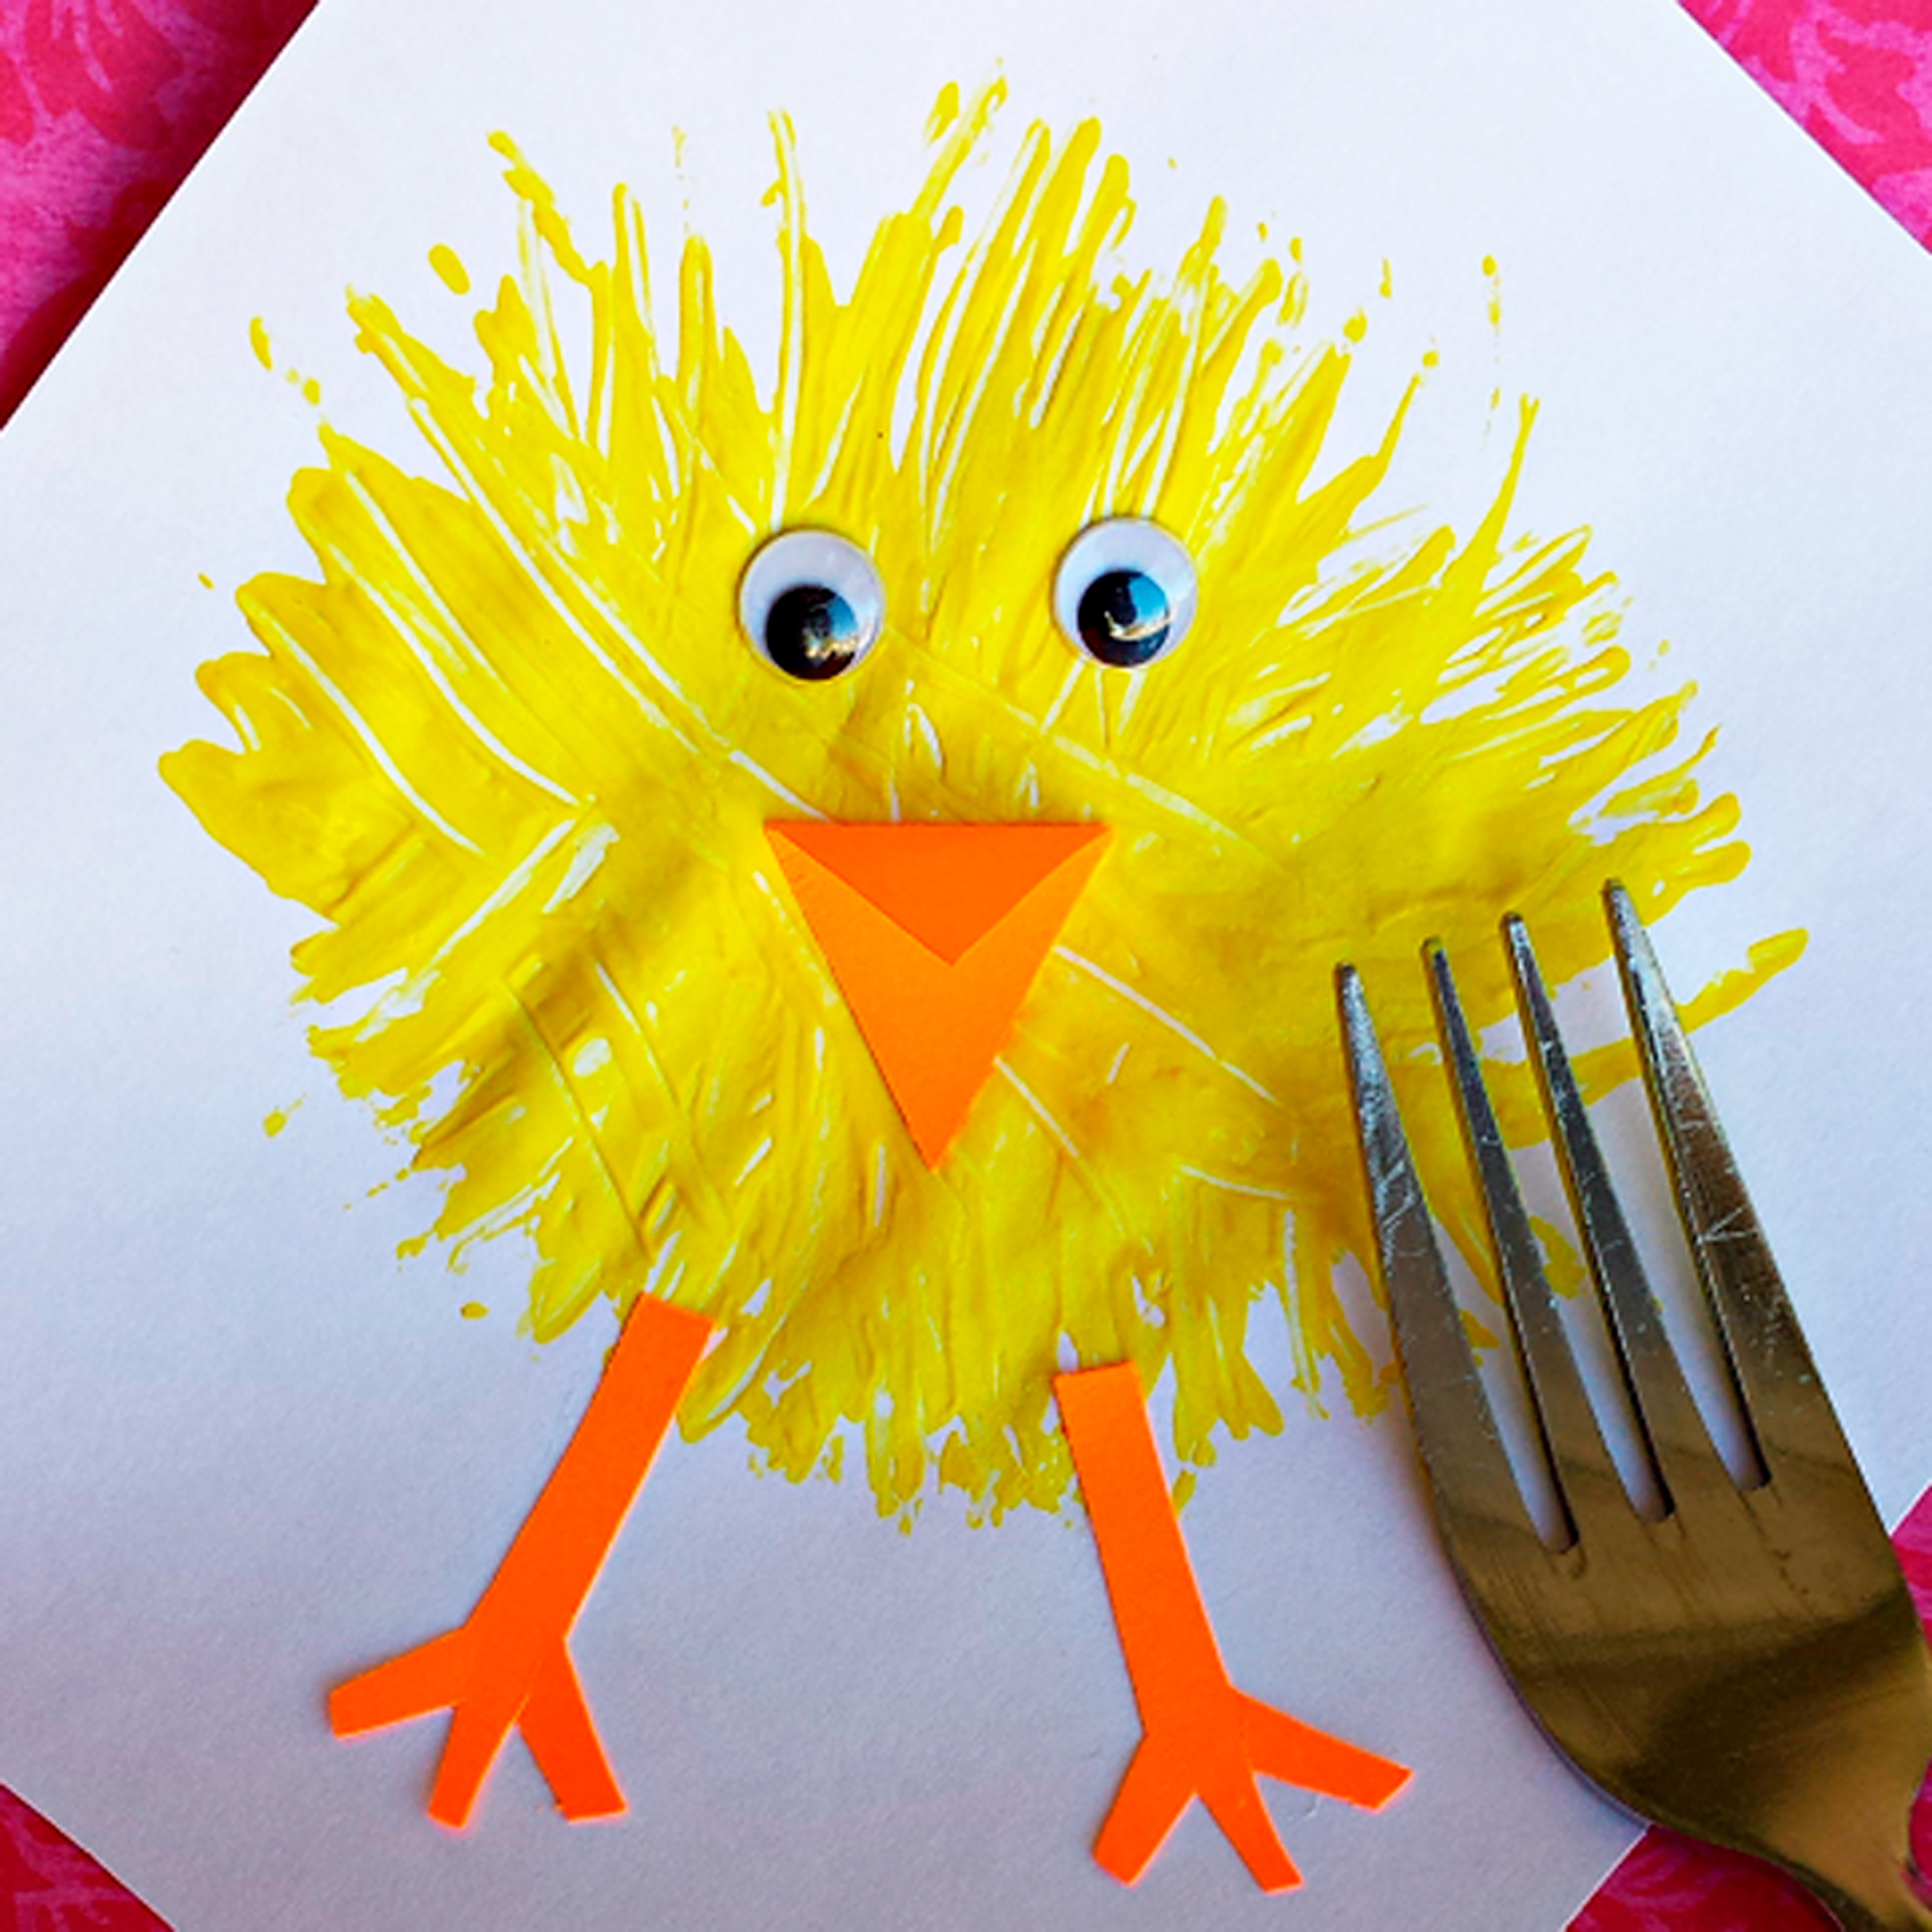
Fork Chick Craft from Crafty Morning
My kids love using everyday objects in unexpected ways, so this Fork Chick Craft from Crafty Morning is sure to be a fave. For this craft, you need white cardstock, yellow tempera paint, two googly eyes, a bit of orange construction paper, and a fork.
Pro tip to remove all anxiety: To make the chick shape, you need the fork paint marks to land in a circle shape. It’s nearly impossible for the smallest hands to make a circle, but you can make the task achievable by constraining their painting to a circle. Simply cut a circle shape out of white paper, which they can cover in fork paint marks. Then, when dry, glue this painted circle onto a clean white piece of paper along with the eyes, beak, and feet. No frustration needed.
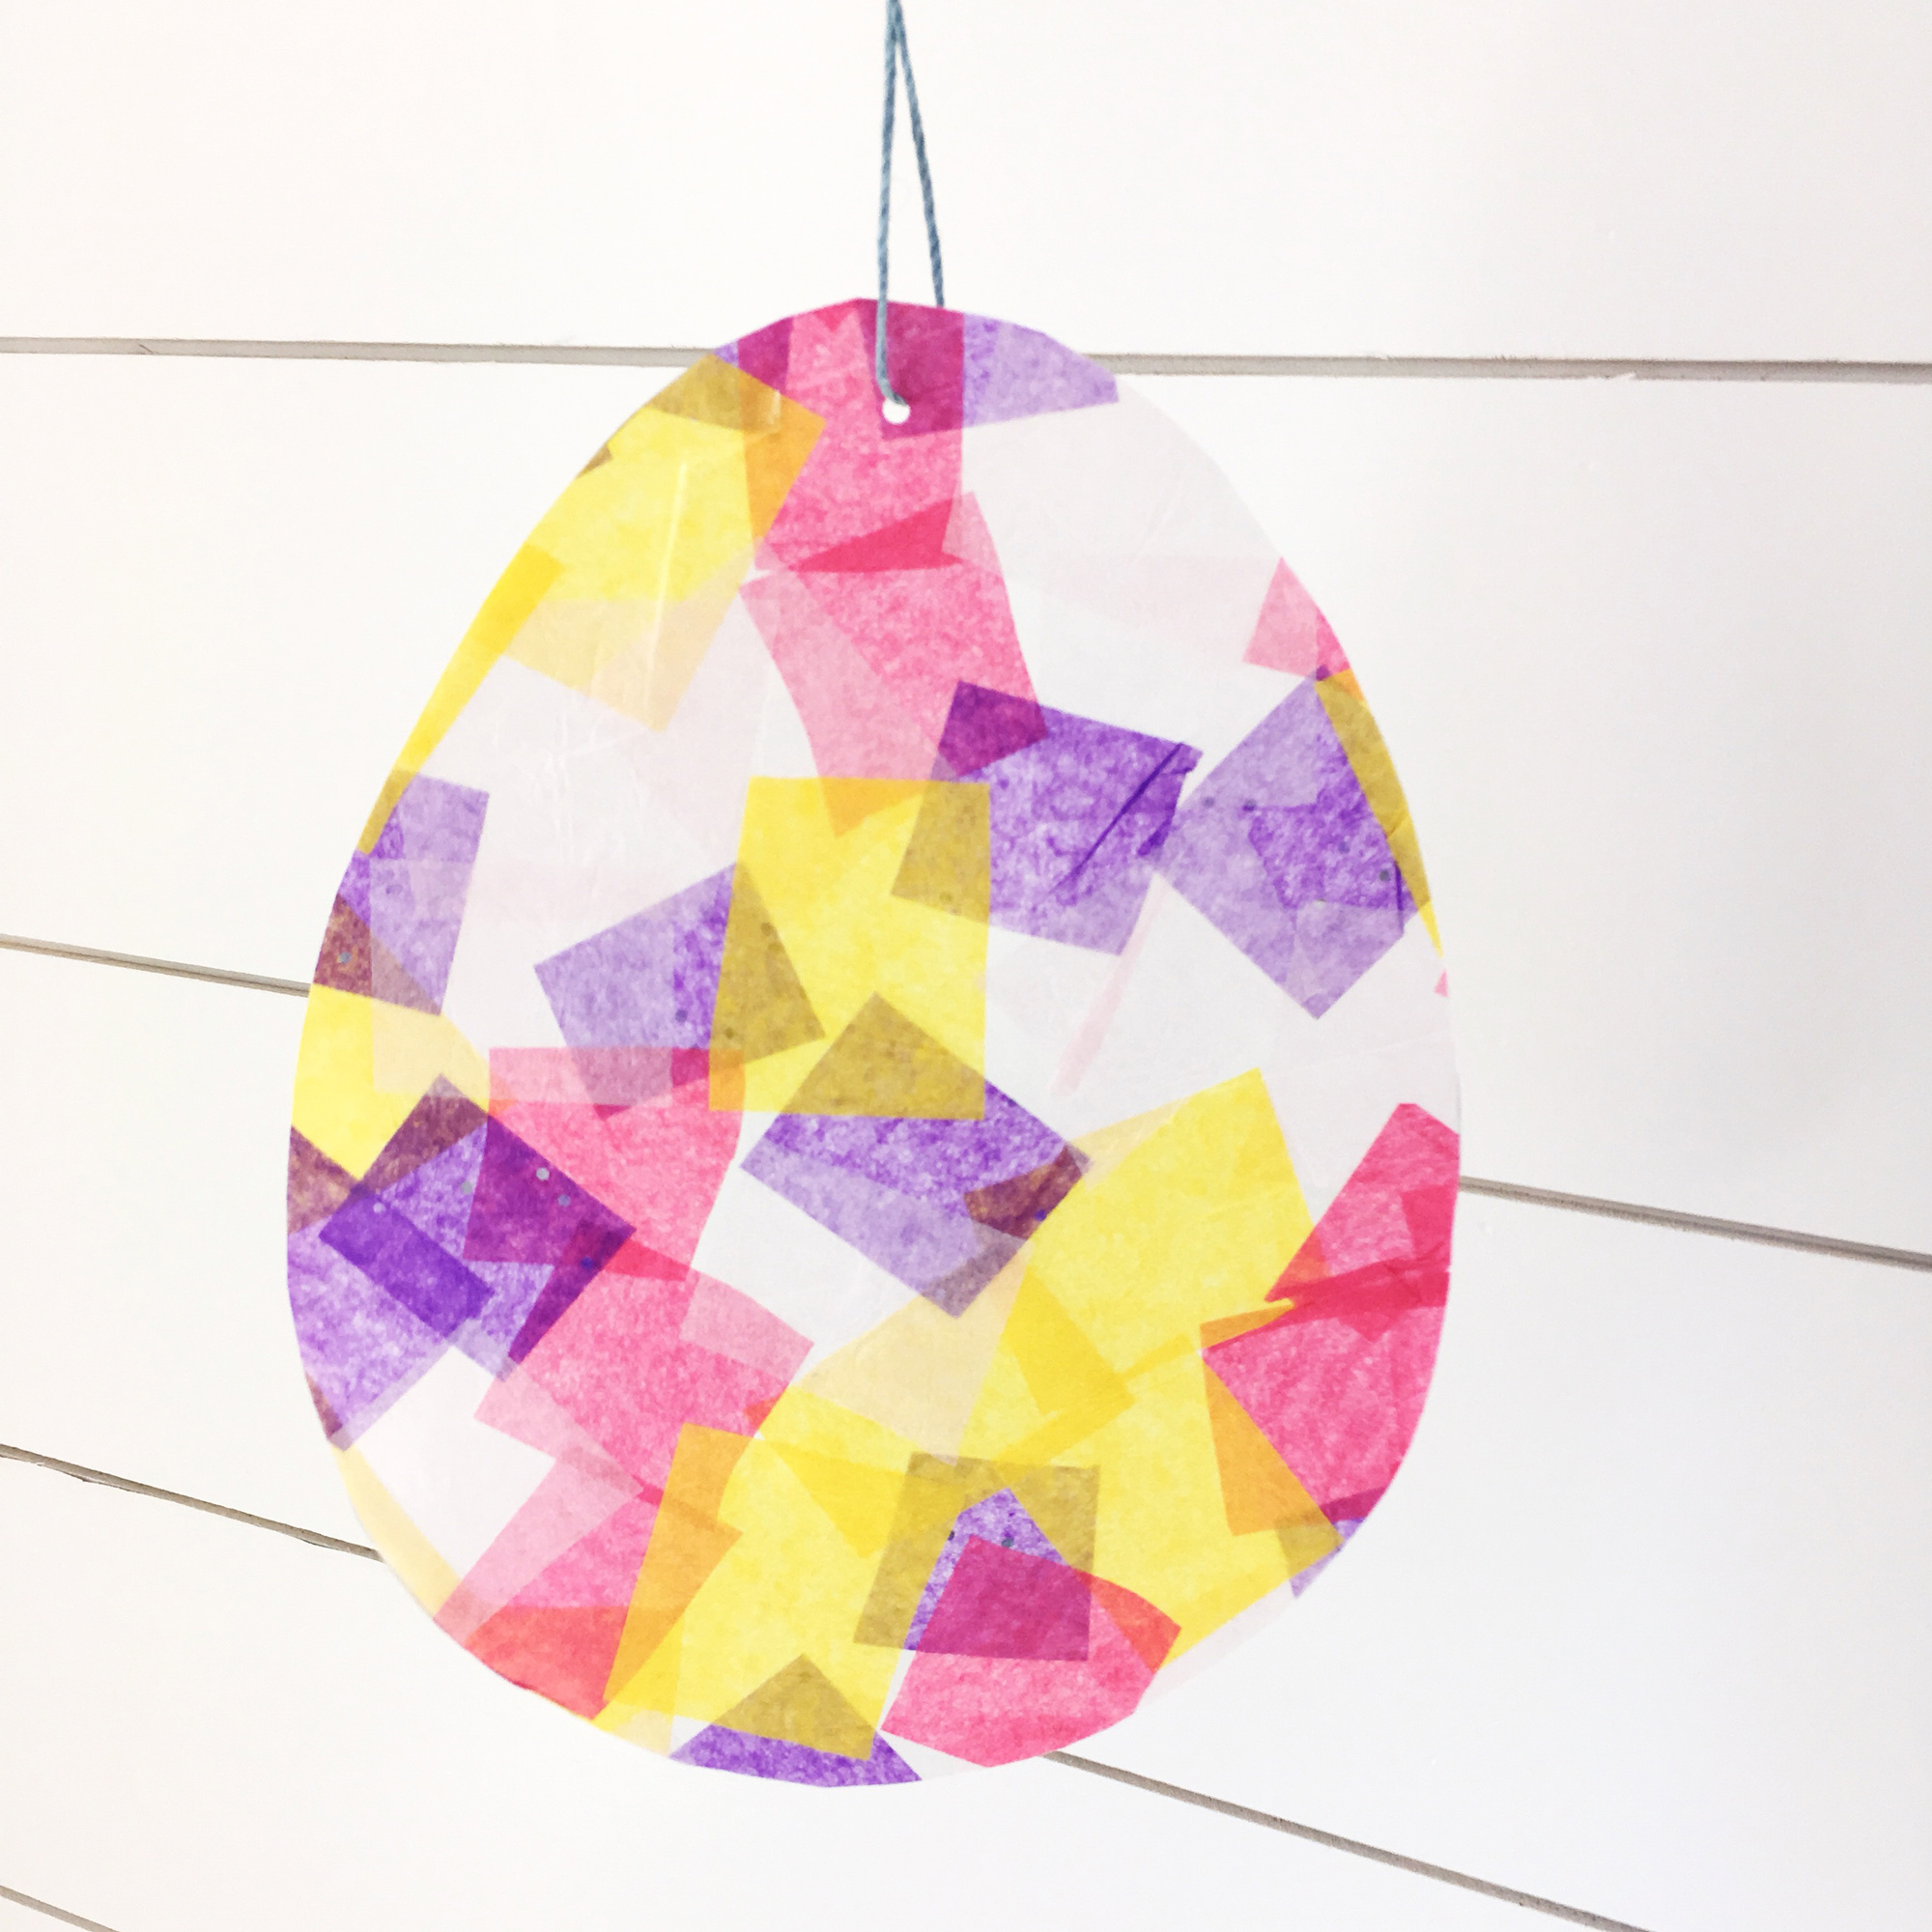
Easter Egg Suncatcher from Sweet Frugal Life
I absolutely love this Easter Egg Suncatcher Craft from Sweet Frugal Life because it’s fun for kids of all ages. My kids are such a wide range of ages (as I’m writing this, our kids are 22, 18, 11, 8, and 5), and I’m always drawn to crafts that will be loved by all. Honestly, I can totally see my 18 year old getting into this activity! All you really need is tissue paper in your favorite colors, contact paper, scissors, and a little bit of ribbon or string to hang up your egg suncatcher. Notice I did not say glue or paint, which means very little mess!
The youngest artists can just tear the tissue paper into pieces and throw it onto the contact paper. Meanwhile, the older kids can experiment with increasingly more complicated shapes, patterns, and color blending by overlay. The possibilities are endless!
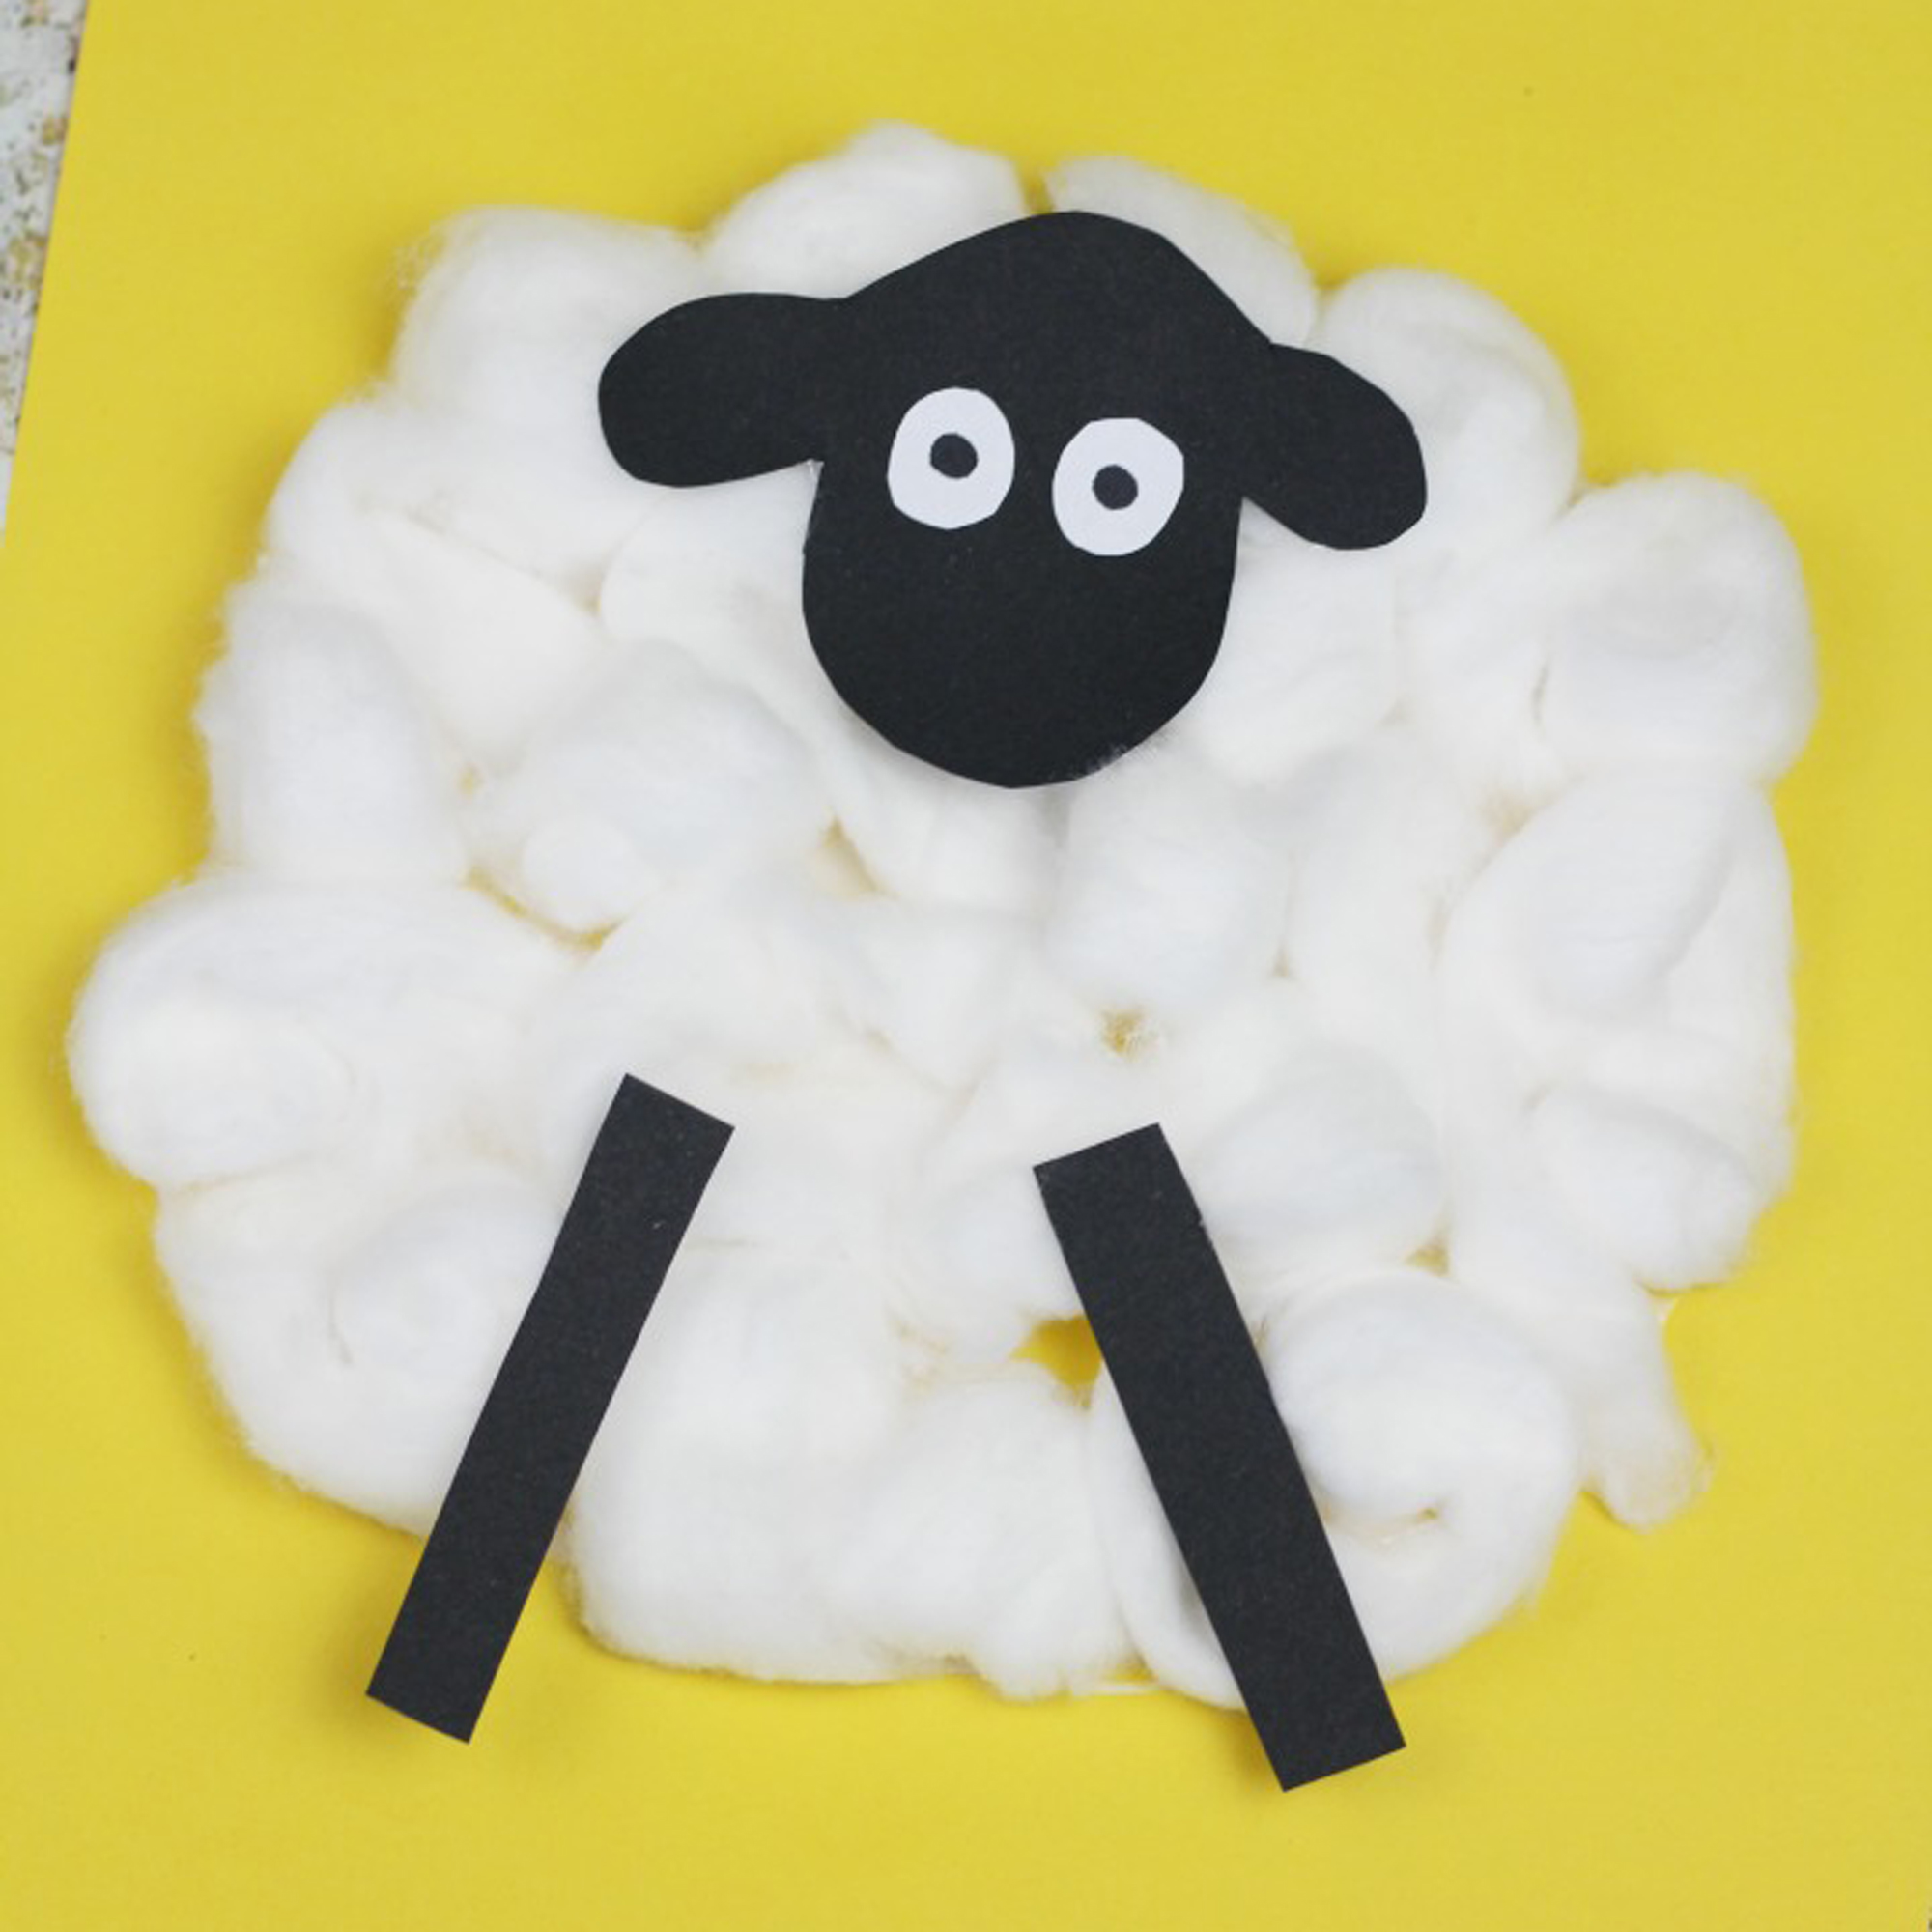
Cotton Ball Sheep Craft from Crafts on Sea
I remember making variations of this craft with all of my kids, and for good reason! It’s easy, you probably have all the supplies in your house right now, and it let the kids create art with a fun, new, squishy medium: cotton balls!
All you need for this Easy Sheep Craft from Crafts on Sea is construction paper, cotton balls, liquid school glue, and possibly a paintbrush to spread the glue around. Even a one-year-old can handle picking up and arranging the cotton balls onto the glue, though the youngest artists may need some assistance with cutting out the face and legs. At the end, you’ll have a friendly sheep to decorate your house in Spring.
Pro tip to reduce anxiety: for the littlest ones, who may have a hard time making a perfect circle sheep with glue, you can use the back of a small paper plate. Let the child glue the cotton balls to the backside of a paper plate. When dry, glue the plate to the construction paper.
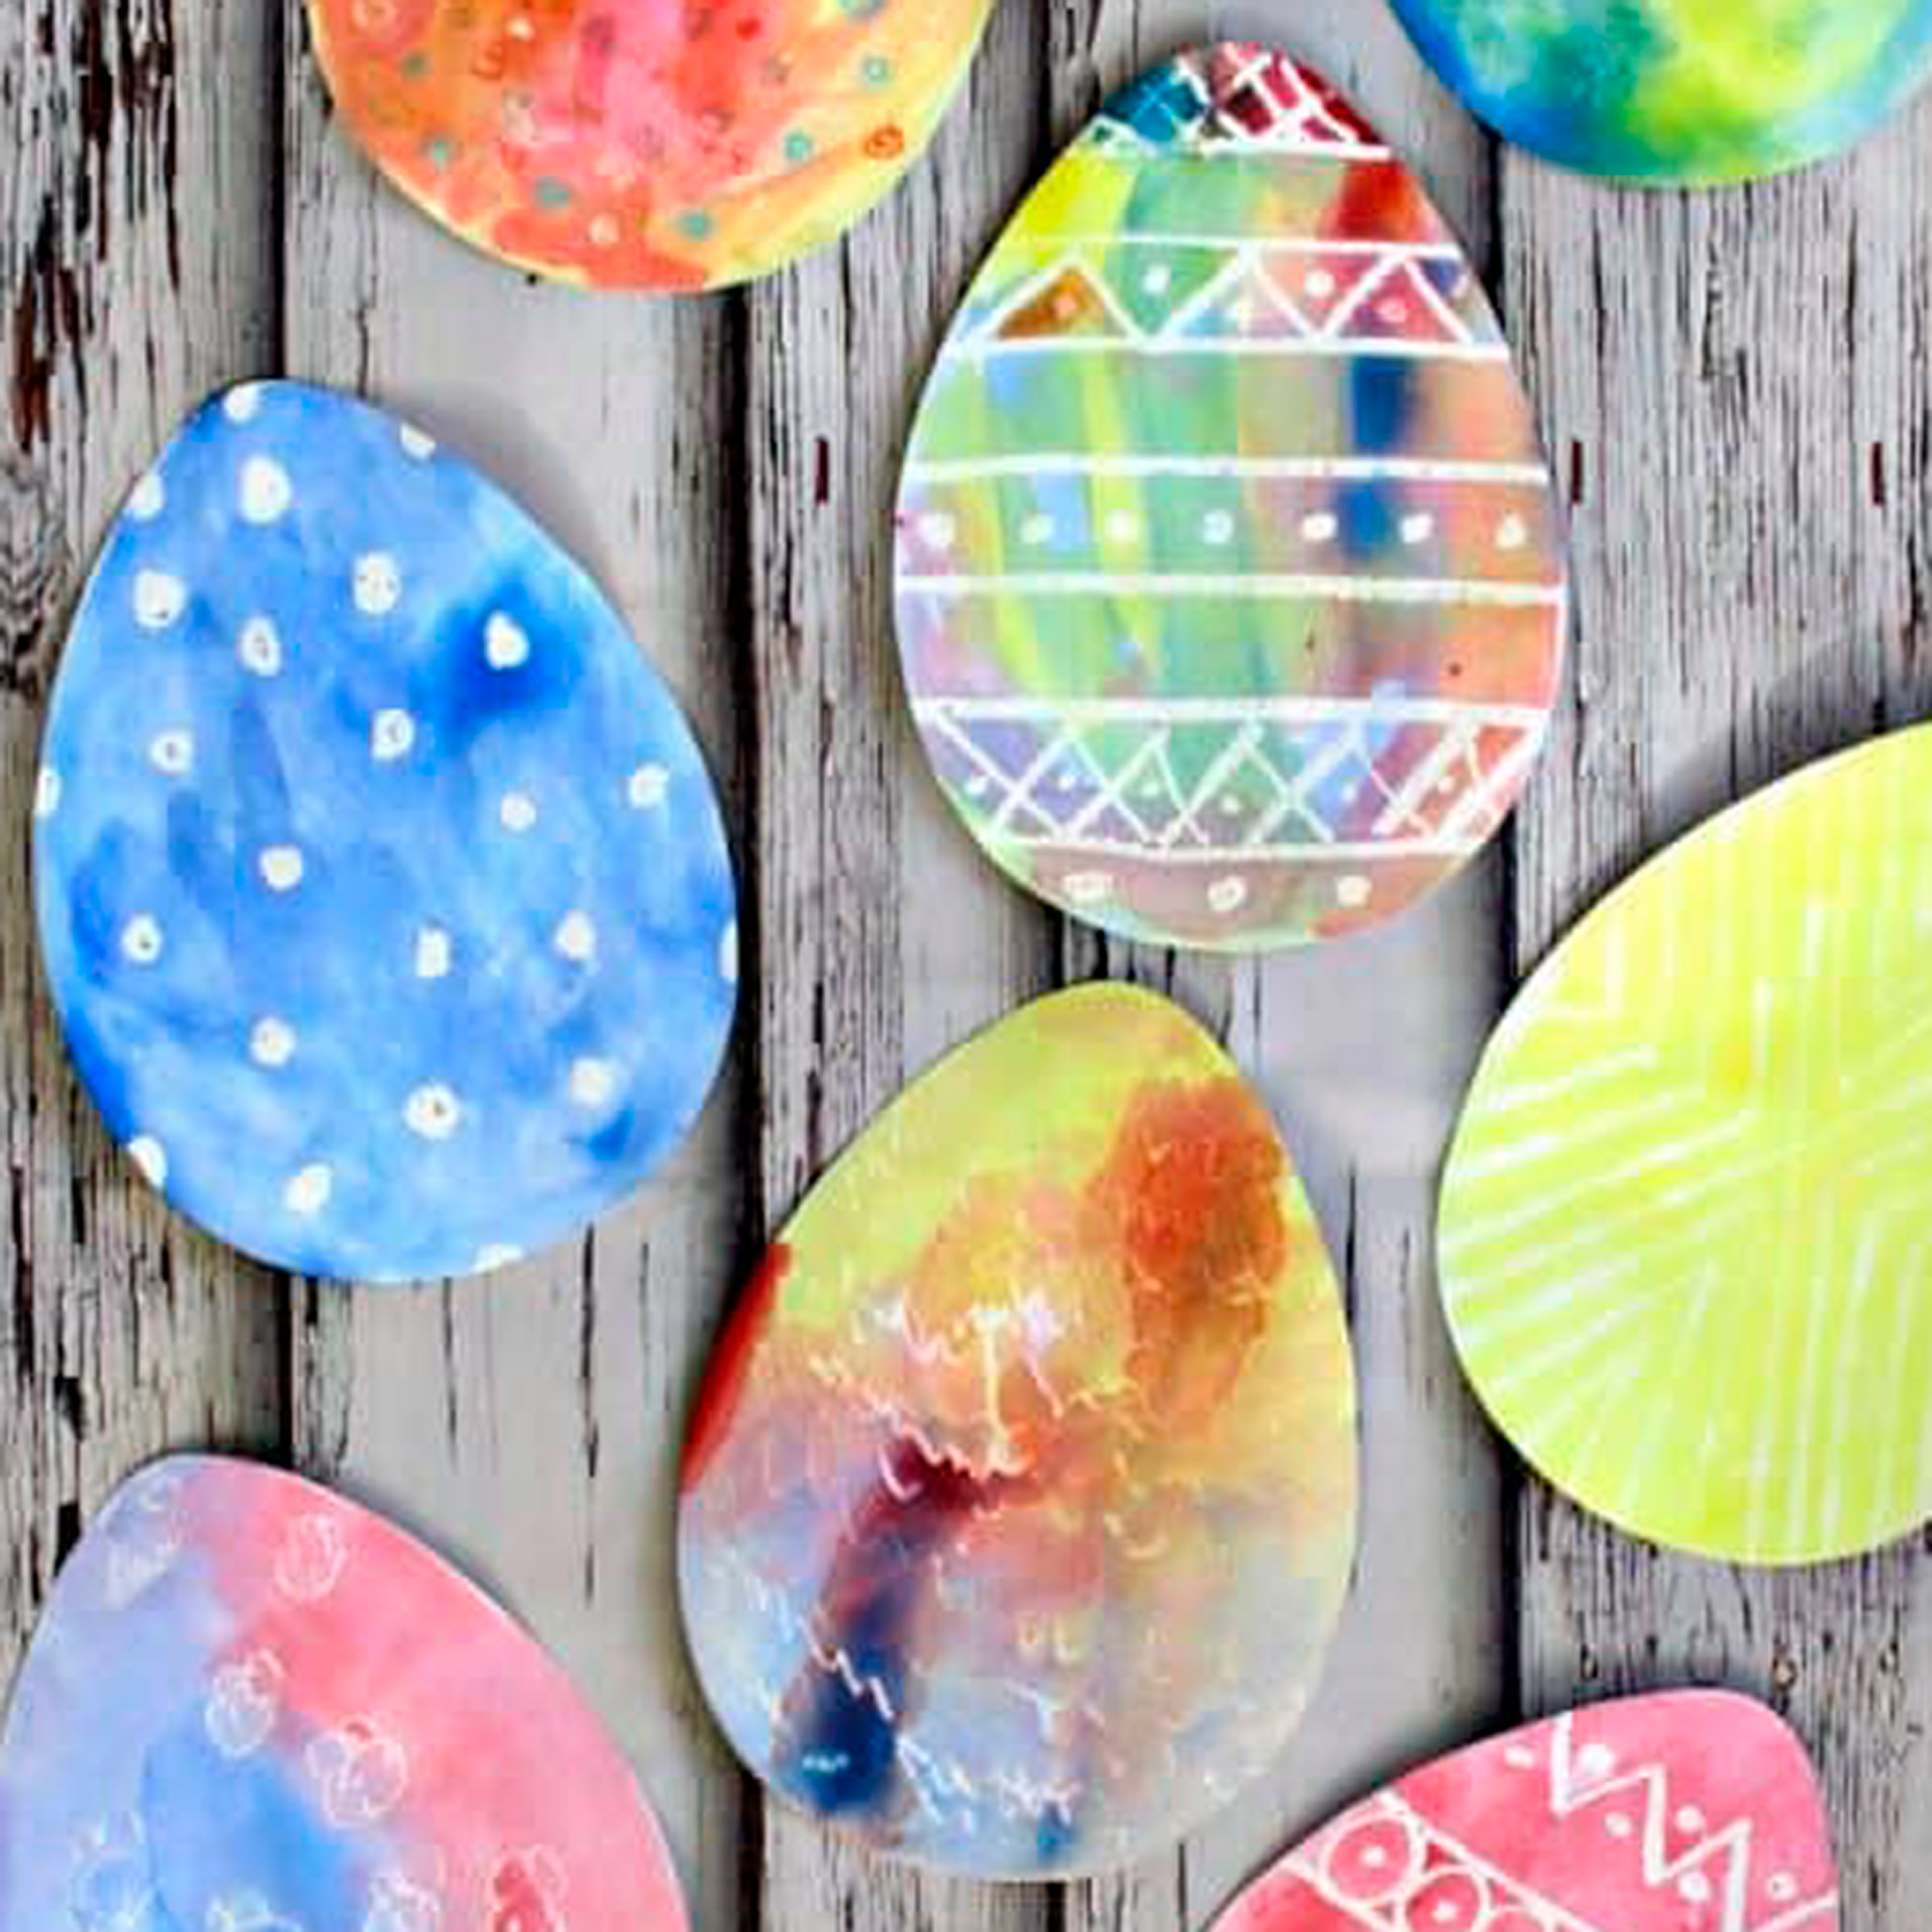
Watercolor Surprise Easter Egg Art for Kids from Rhythms of Play
I absolutely LOVE watercolor paints! I love using them myself, and I love sharing them with my kids. They’re just so incredibly EASY. All you need to do is pull out the watercolor set from a drawer, grab a paintbrush and a mug of water, and you have an artist’s studio.
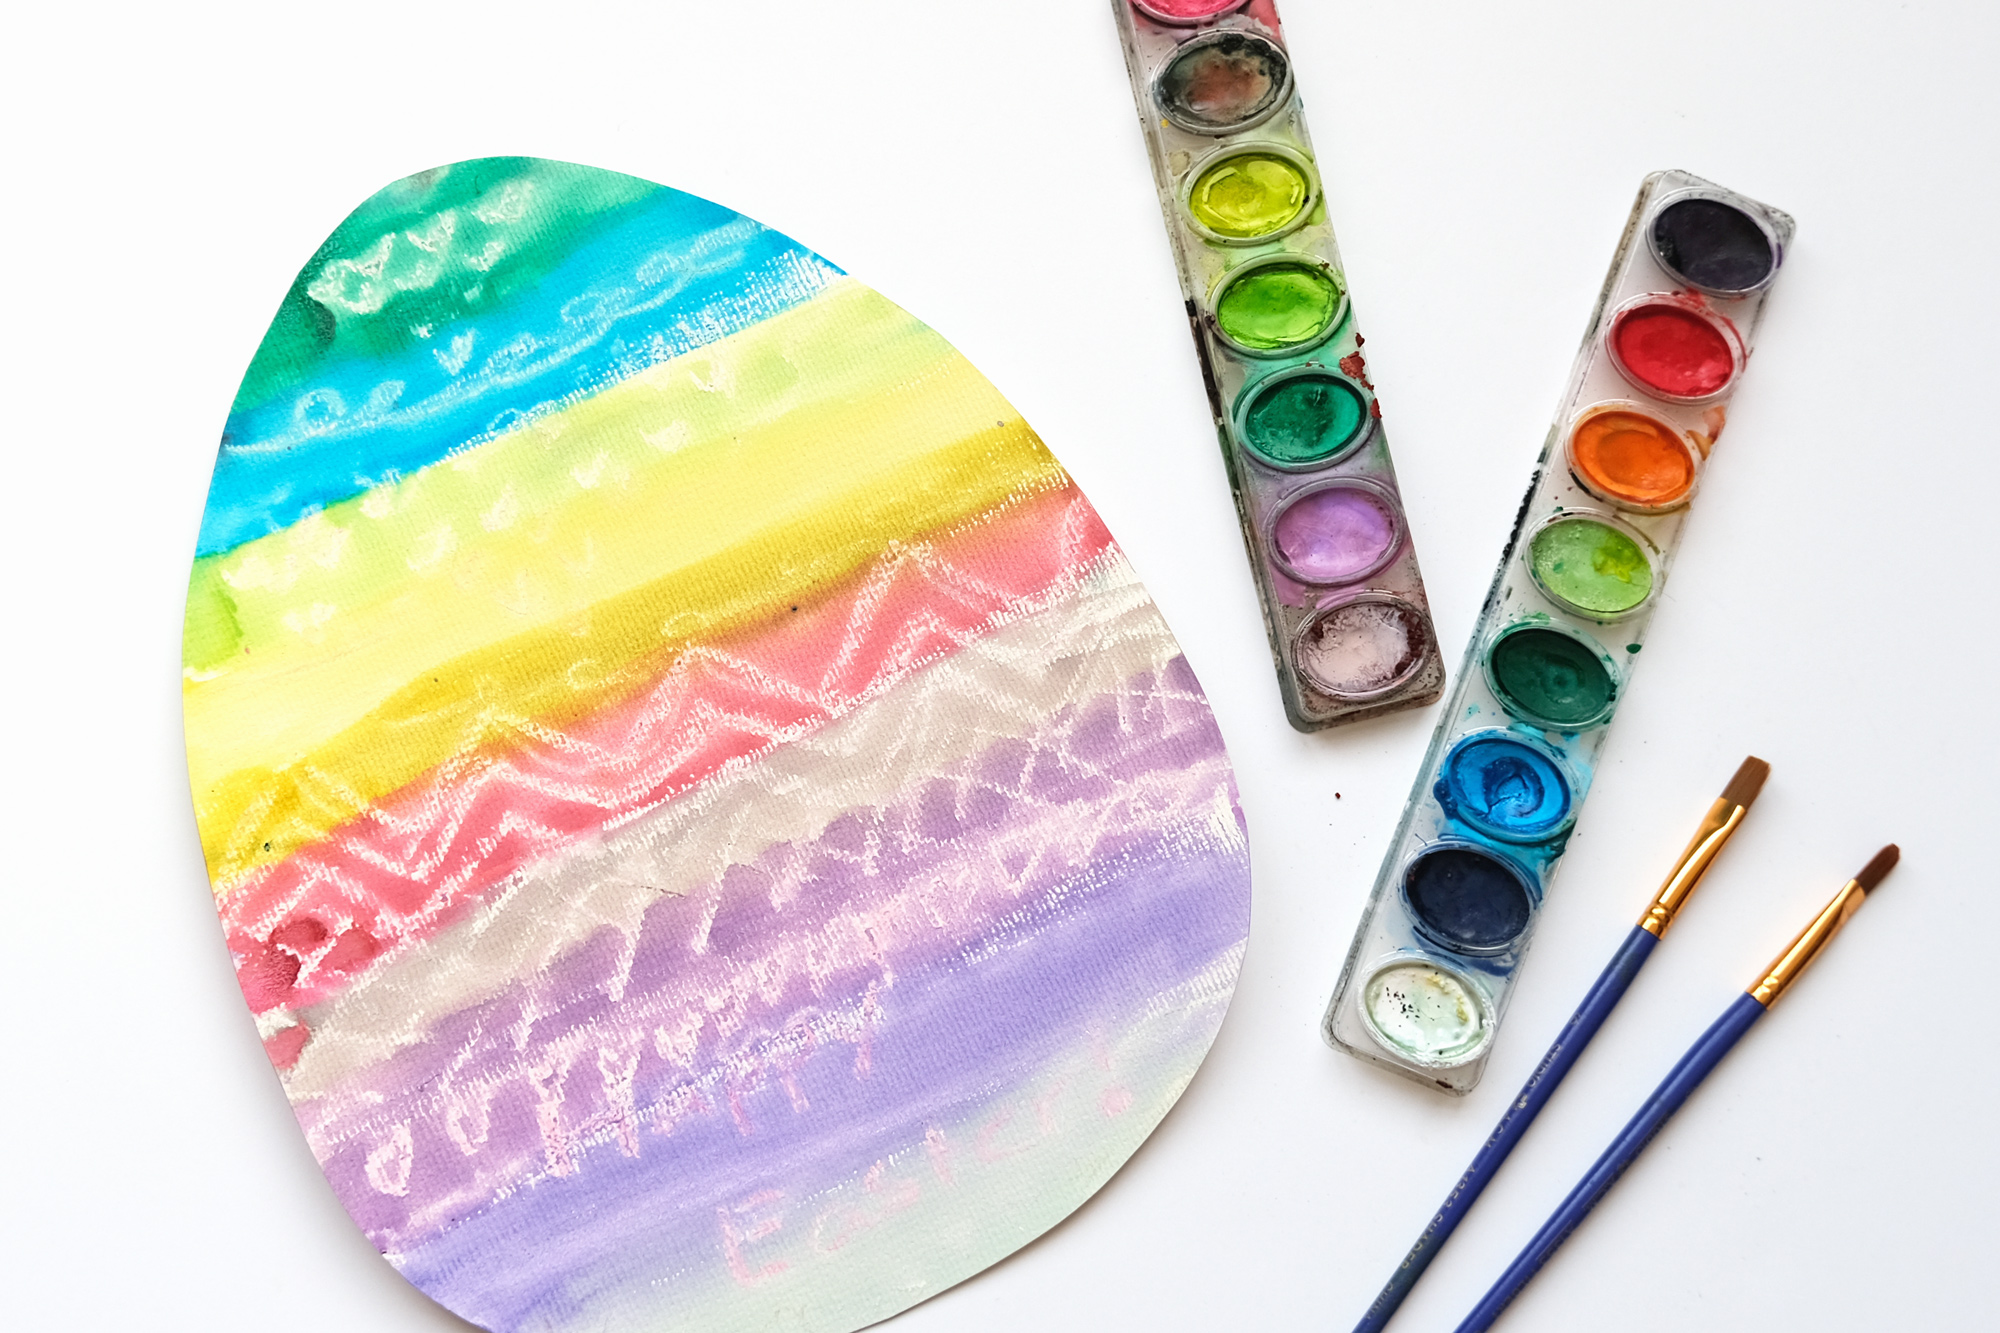
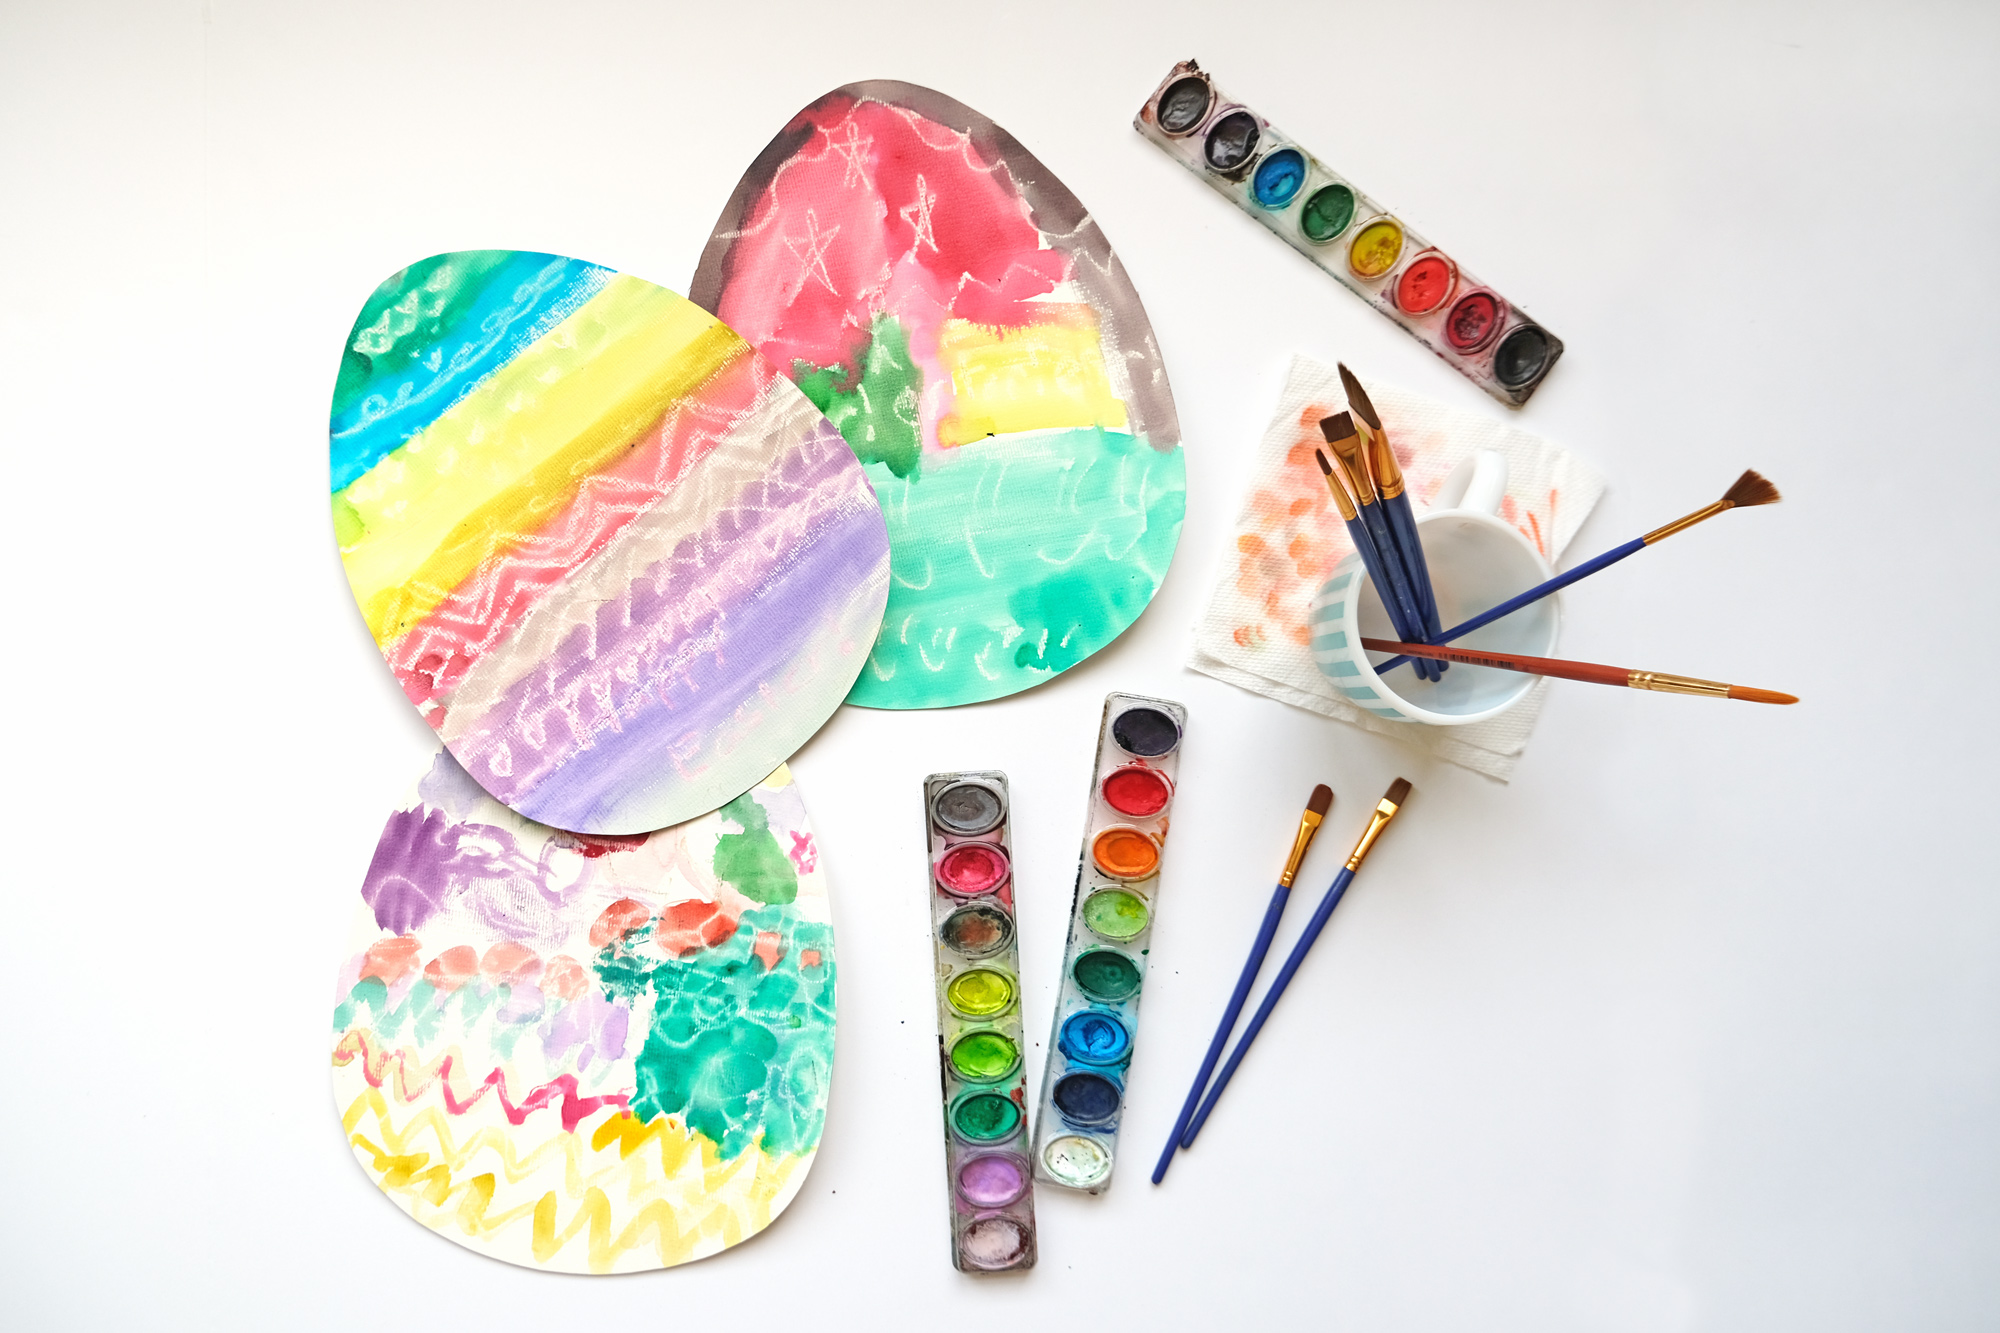
This Watercolor Surprise Easter Egg Art Craft from Rhythms of Play makes great use of my favorite medium. Again, this craft is easily adaptable for kids of all ages and abilities, but it’s totally doable for even the youngest artist. All you need is watercolors, paintbrushes, and I always recommend using watercolor paper for all watercolor projects. It’s specifically formulated to work well with all that water, and just makes the whole project super pro. If you want to use the resist method (highly recommended), you’ll also need a white crayon or white oil pastel. And that’s it!
Because watercolors are awesome, the final project will be beautiful and fun, regardless of the artist’s age and ability. You may end up making one yourself… we sure did. Below is a photo of our watercolor eggs.
I hope you’ve enjoyed reading through this list as much as I enjoyed putting it together. Now that inspiration is fresh in your heart, get crafting! Make sure to tag us on Instagram when you share your projects. I always love to see your little artists at work, and I’m dying to see how your projects turned out! Happy Easter!
