by Monika Briggs | Apr 19, 2019 | LUNCH, things to EAT |
Print Recipe
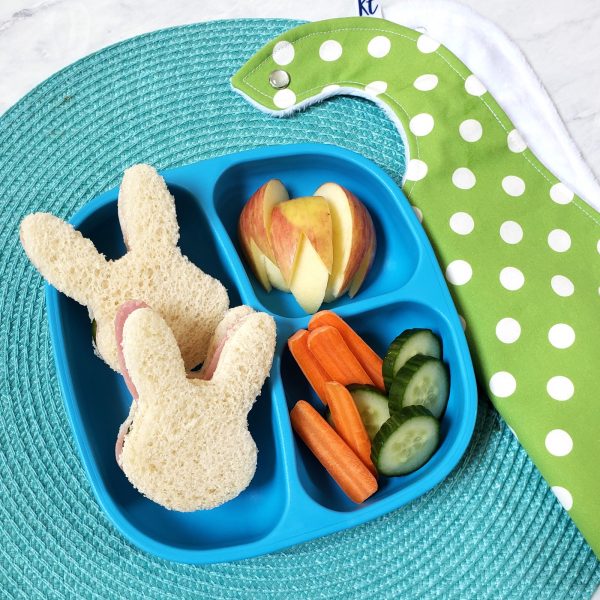
Easter Finger Sandwiches
Instructions
Grab some sandwich bread and a cookie cutter. We chose these ones I picked up at Joann Fabrics because they were a nice big size, but use whatever you have on hand or whatever makes you happy.
Cut bread into shapes using the cookie cutters. You will need two of each shape to make a sandwich.
Just a note here: I was thinking that I would dice and freeze the extra parts of bread to use in meatloaf, which is what I usually do with all bread ends. But it was not necessary. We started making the sandwiches right before lunchtime, and the kids ate them all as they cut.
Cut out or make your filling. The original recipe calls for a DIY vegetable cream cheese. It sounds DELICIOUS but of course takes time. You can substitute a store-bought cream cheese like Philadelphia Garden Vegetable cream cheese, which also comes in a low-fat version. Or, use any sandwich filling that your kids enjoy. We used ham and cheese and had a great time cutting shapes out of the cold cuts as well! I used a piece of waxed paper under the lunchmeat and cheese to keep them from sticking to the cutting board.
Prepare some veggies to brighten up your sandwiches. We love cucumbers and tomatoes, but peppers, arugula, and redishes are great too.
Assemble your sandwiches.
-
by Monika Briggs | Jan 26, 2018 | SOUP, things to EAT |
Print Recipe
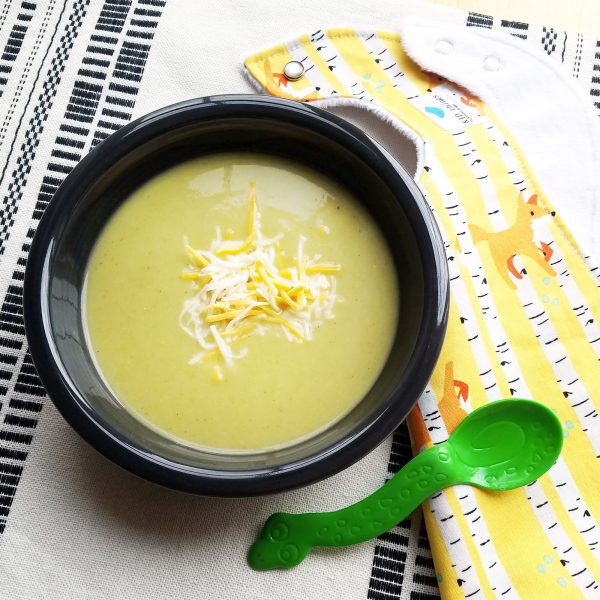
Kid-Approved Broccoli Soup
Instructions
Heat oil in large pot. Add onion and sauté until slightly brown and somewhat translucent, approximately 3-4 minutes.
Add frozen broccoli, and give it all a stir, scraping any good browned parts off the bottom of the pan.
Add chicken broth, water, and bouillon cubes. Cover and bring to a boil.
Reduce heat to low and simmer until broccoli is soft when pierced through with a fork, approximately 15 minutes.
Remove from heat. Using an immersion blender, puree the soup until smooth and creamy.
Slowly add the milk. If the milk is straight from the refrigerator, take this extra step to make sure it does not curdle: add a bit of soup into the milk first and bring up the temperature. When the milk is somewhat warm, slowly add it to the soup.
Season to taste with pepper, if needed. Be careful with adding more salt if you will be adding cheese.
Serve with a large pinch of shredded cheese on top, which melts deliciously into the soup. I usually use a sharp cheddar or a Mexican blend.
In my house, while finishing the bowls, I must also feed a pinch of cheese into each child’s mouth. I am not sure when this ritual started, but broccoli soup means I walk around with a bag of cheese and feed my kids like baby birds. You can of course skip this step, but I would recommend carrying on the tradition. It definitely starts dinner on the right note.
-
Recipe Notes
Nutrition Info: 1 serving = 1 cup | Calories: 46 | Fat: 3 g | Saturated Fat: 0.3 g | Trans Fat: 0.2 g | Cholesterol: 2 g | Sodium: 293 mg | Total Carbohydrate: 6 g | Dietary Fiber: 2 g | Sugars: 3.5 g | Protein: 3 g


